sleeping platform
we put a good bit of thought into our sleeping platform/main storage compartment. after looking through tons of builds and deciding on the things that were most important to us, i mocked up a few designs in google sketch up based off of some measurements i took of the van. lots of laying tape on the floor, a good bit of inspiration from dinoevo and changing little bits and we had the relatively simple design you see in the wood below. this gives us a couple big drawers in the front, a refrigerator area and kitchen slide out in the back, and some under-platform free space for water bottles and filtration or storage or things we haven't thought of yet... it's always a work in progress.


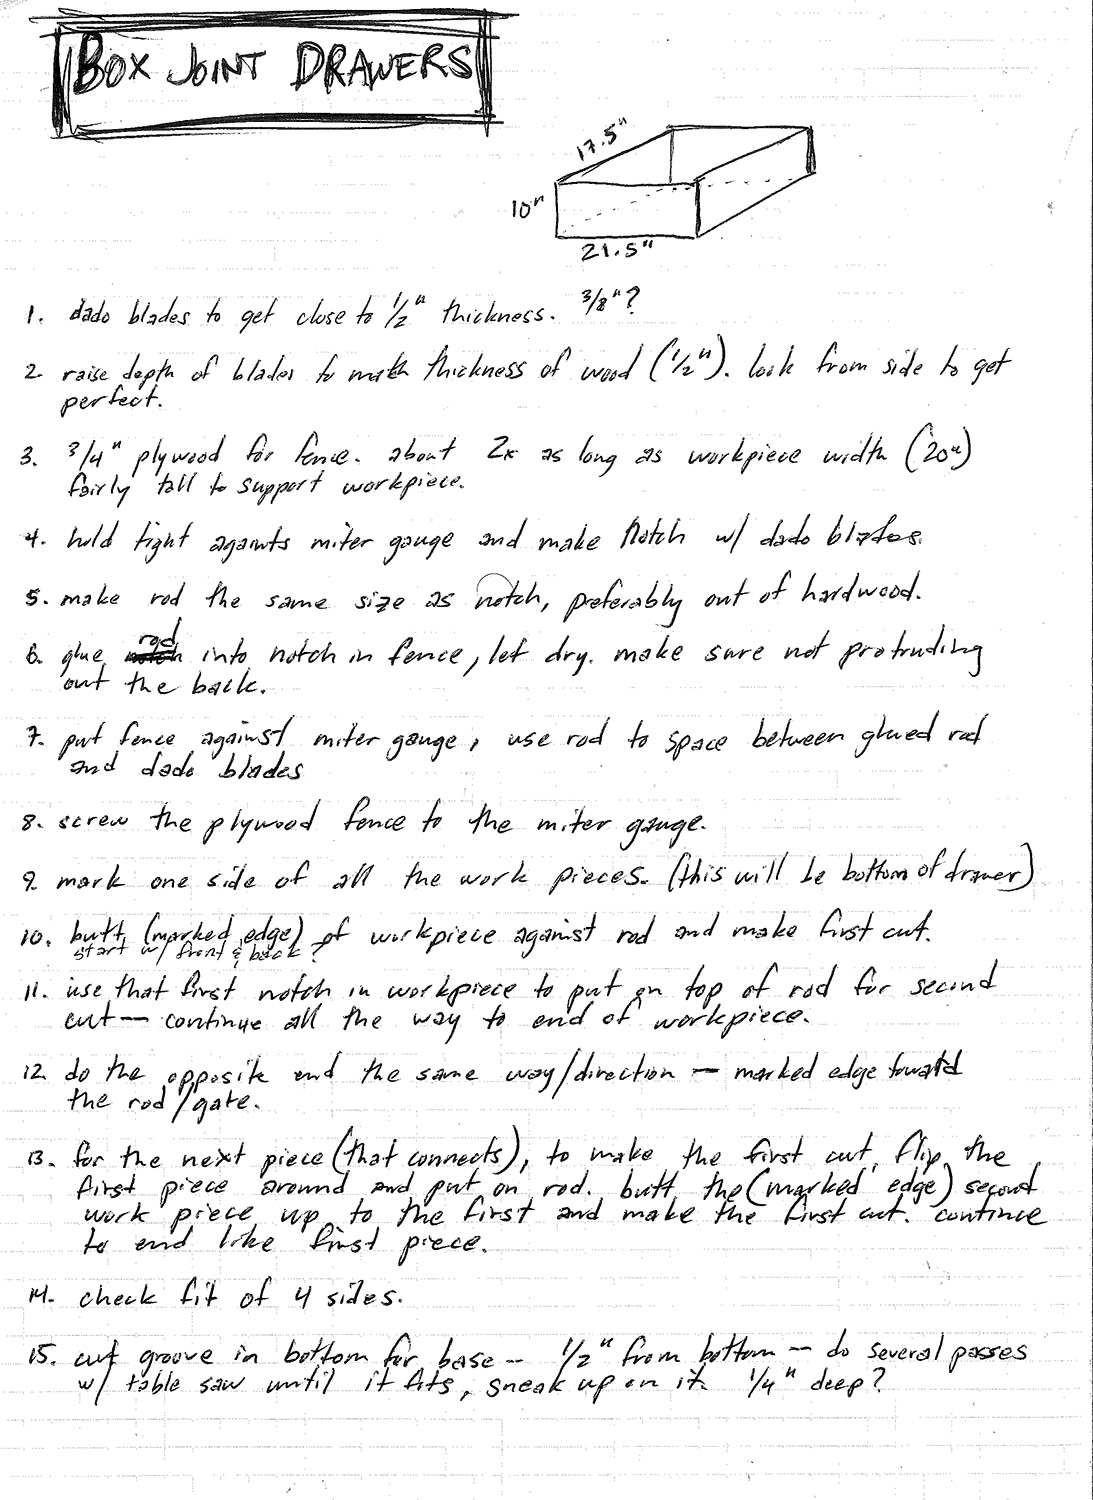
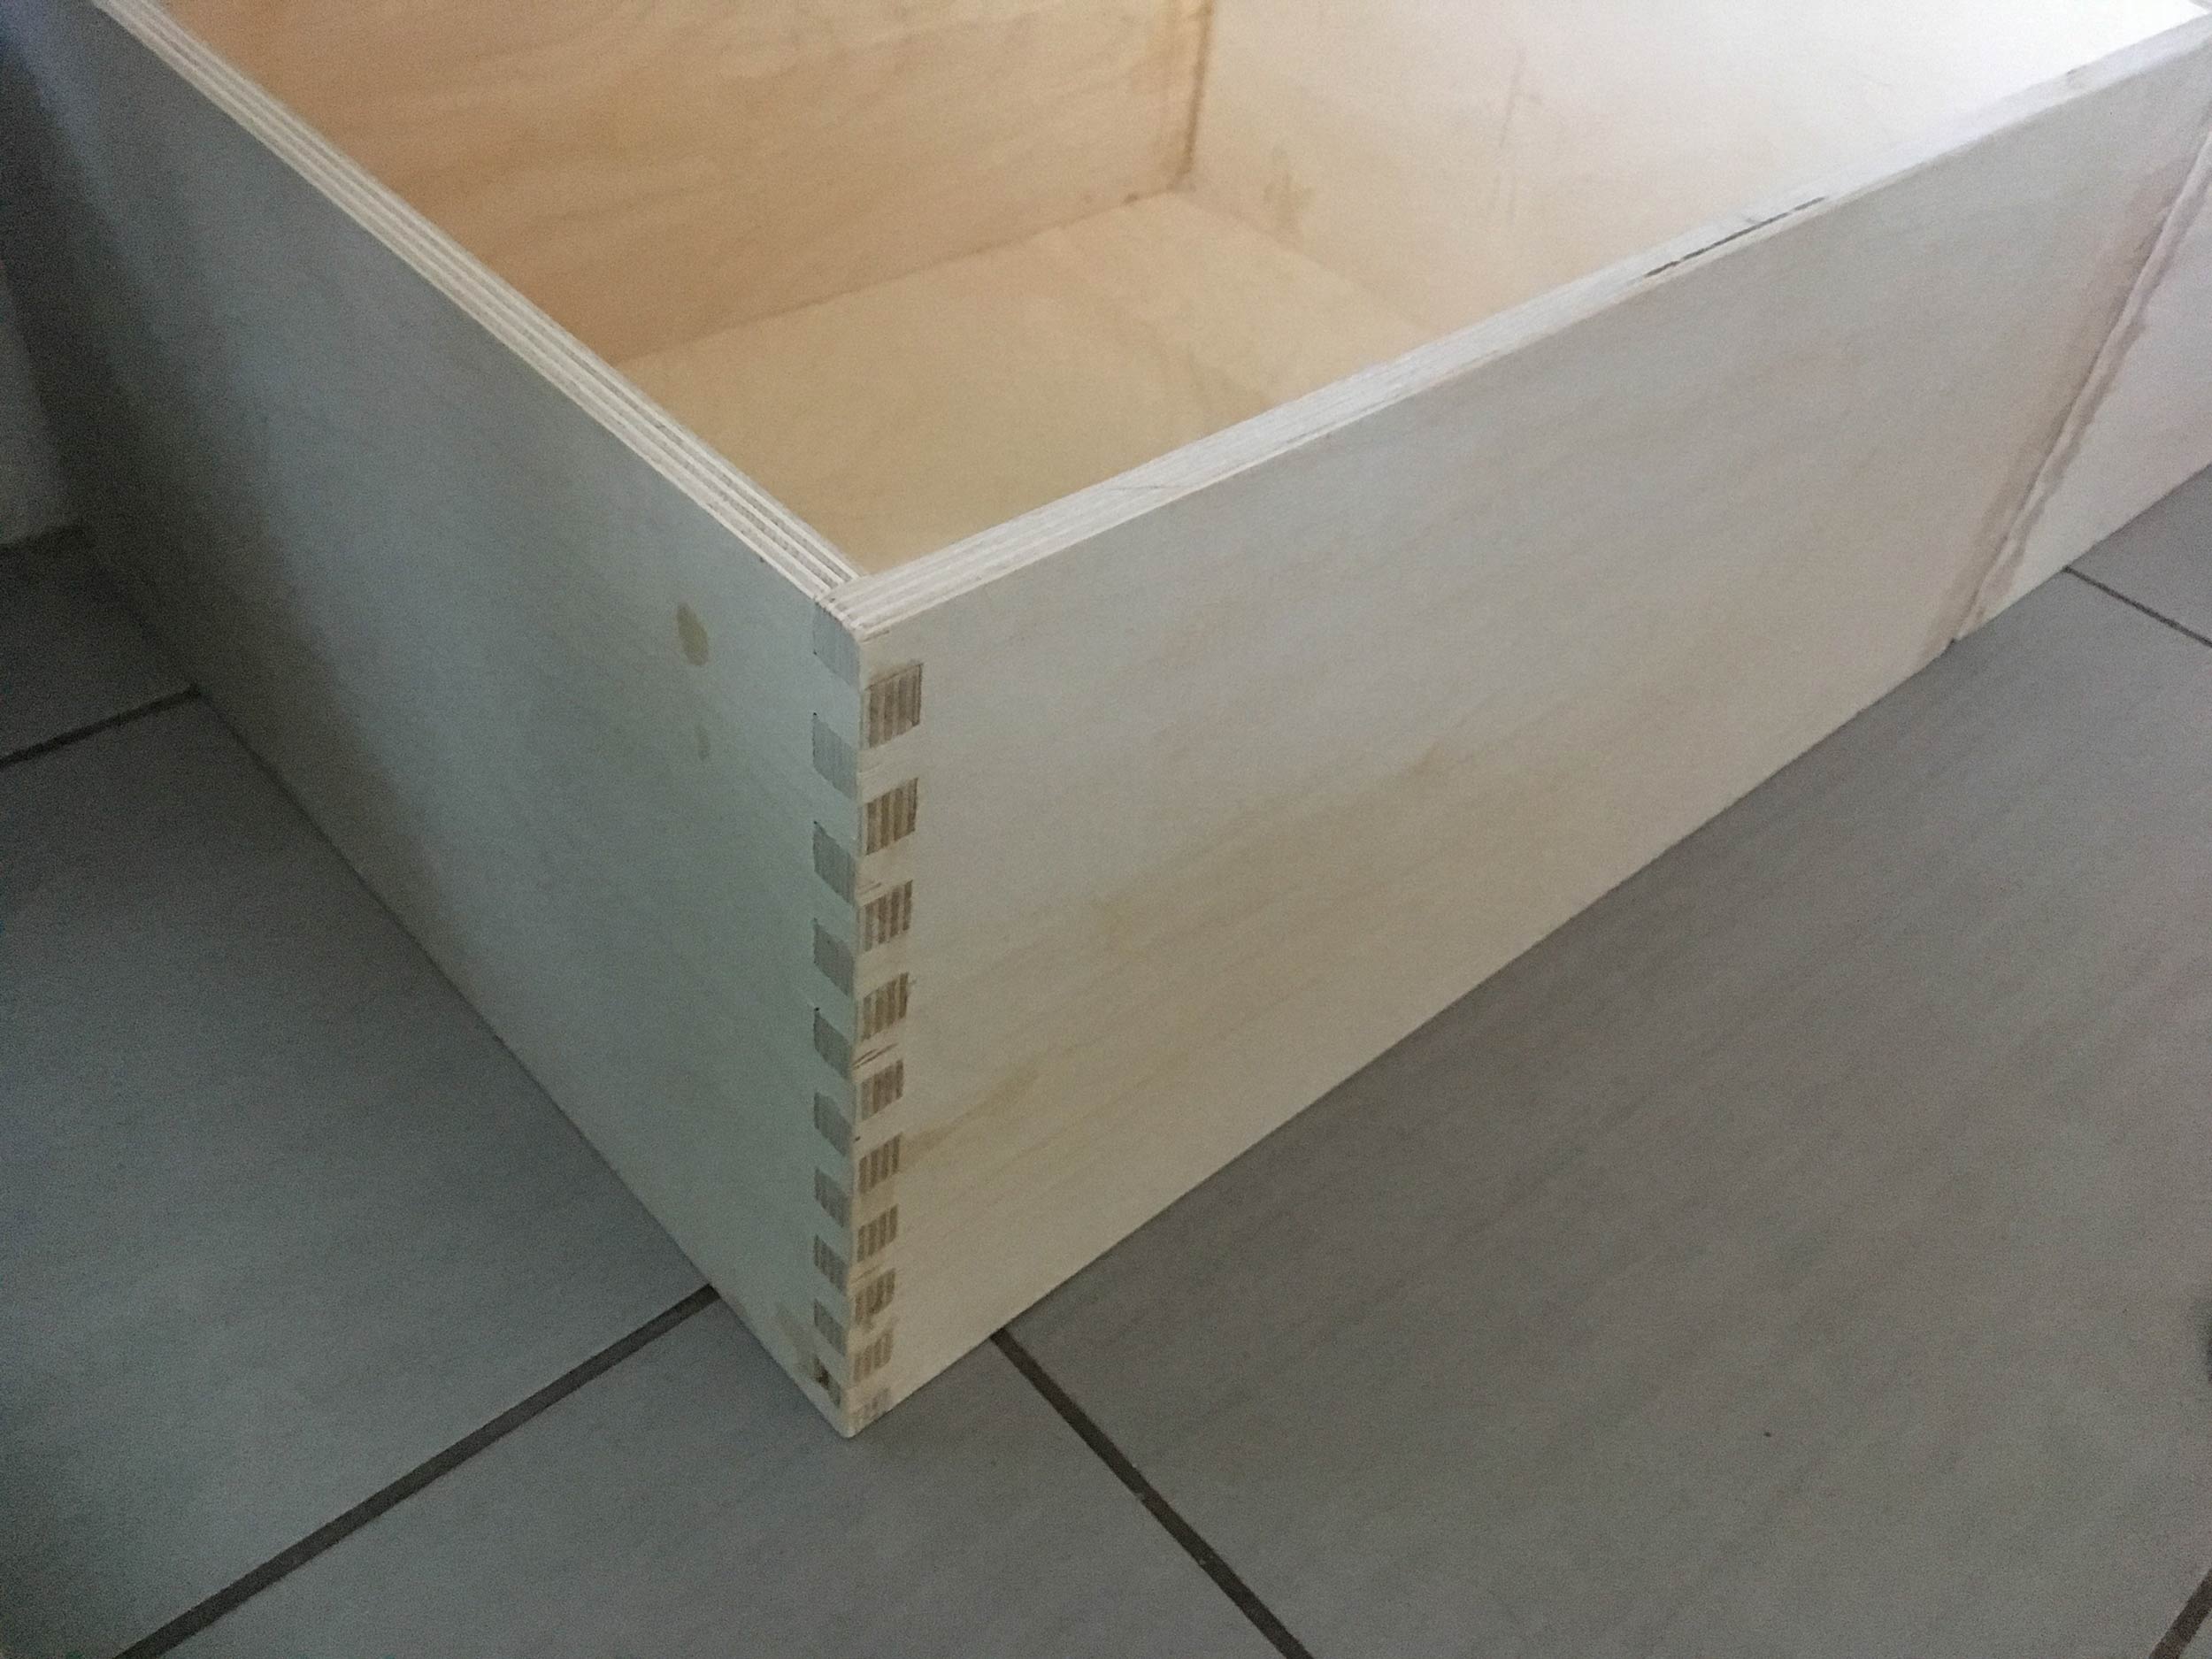
with the basic platform skeleton in place, it was time to tackle the drawers. this was the first time i've built drawers, and after hours of research (an excellent step by step here), i decided i'd try to make some box joints for simple and sturdy construction. i started out by making a 1/2" jig as i planned on using 1/2" plywood for the drawers. next i cut the slots and hoped for a good fit. overall, it was a pretty big success for a first try. the joints fit perfectly and made for really solid drawers once glued up -- no metal in these guys, all wood and glue!


a freezing cold staining session and the drawers and platform were ready for mounting. we got super heavy duty full extension locking sliders from lee valley tools. i think each set is rated at 200lbs -- a bit overkill, but they didn't have any midground for the length i needed. the drawers currently pull out to form the full size bed, a piece of wood goes on top of them in a temporary fashion until we get a facade and smaller cut pieces to better keep things from slipping around during the night.


next up is the cabinet that will mount on the driver's side over the wheel well. it's 2" tall and 52" long (the length of the platform without drawers extended). this will give us a bit of shelving while still allowing us to store things under the cabinet beside the platform -- thinking water at the moment. the first stab i took at the facade was a classic case of should have measured thrice and cut once... somehow we placed everything correctly, but measured the full length of the platform when writing down dimensions -- and not leaving any room for a slant at the rear door. this left about 8 inches overhanging the tailgate, making it impossible to close the trunk. some recalculating and a redesign brought us more in line with the classic westfalia style cabinet that will have an open rear compartment and a mid shelf for a water bottle or phone charging at night. i still have to glue up the facade to the shelves, but below shows some handywork with the table and jigsaws to make the basic form...


sewing is hard. better yet, sewing in a nice pretty straight line is challenging and takes practice. after about a year of sleeping on our backpacking mattress pads, it was time to upgrade to some foam and wrap up some cushions. we found some cool looking cheap-ish fabric at a local fabric store and ordered some local canadian foam from the vancouver foam store. a couple of weeks later and more than a few nights and weekends at the shop, we have some pretty excellent and super comfy bedding.


