front and rear steel bumpers
though fairly 4 wheel drive capable with the Mitsubishi Super Select (more info below), we knew we would need some extra clearance beyond the stock ground effects and nudge bars. also, to fit some bigger rubber under there, we knew we'd need a lift and some bumper trimming.
Super Select 4WD system summarized from a thread on delicaclub.com:
2H = 2 wheel drive high ratio, rear wheel drive only.
4H = 4 wheel drive high ratio, similar to an AWD setting.
4HLc = 4 wheel drive high ratio w/ center diff lock, all wheels have same drive force & limited slip diff in high ratio.
4LLc = 4 wheel drive low ratio w/ center diff lock, all wheels have same drive force & limited slip diff in low ratio.
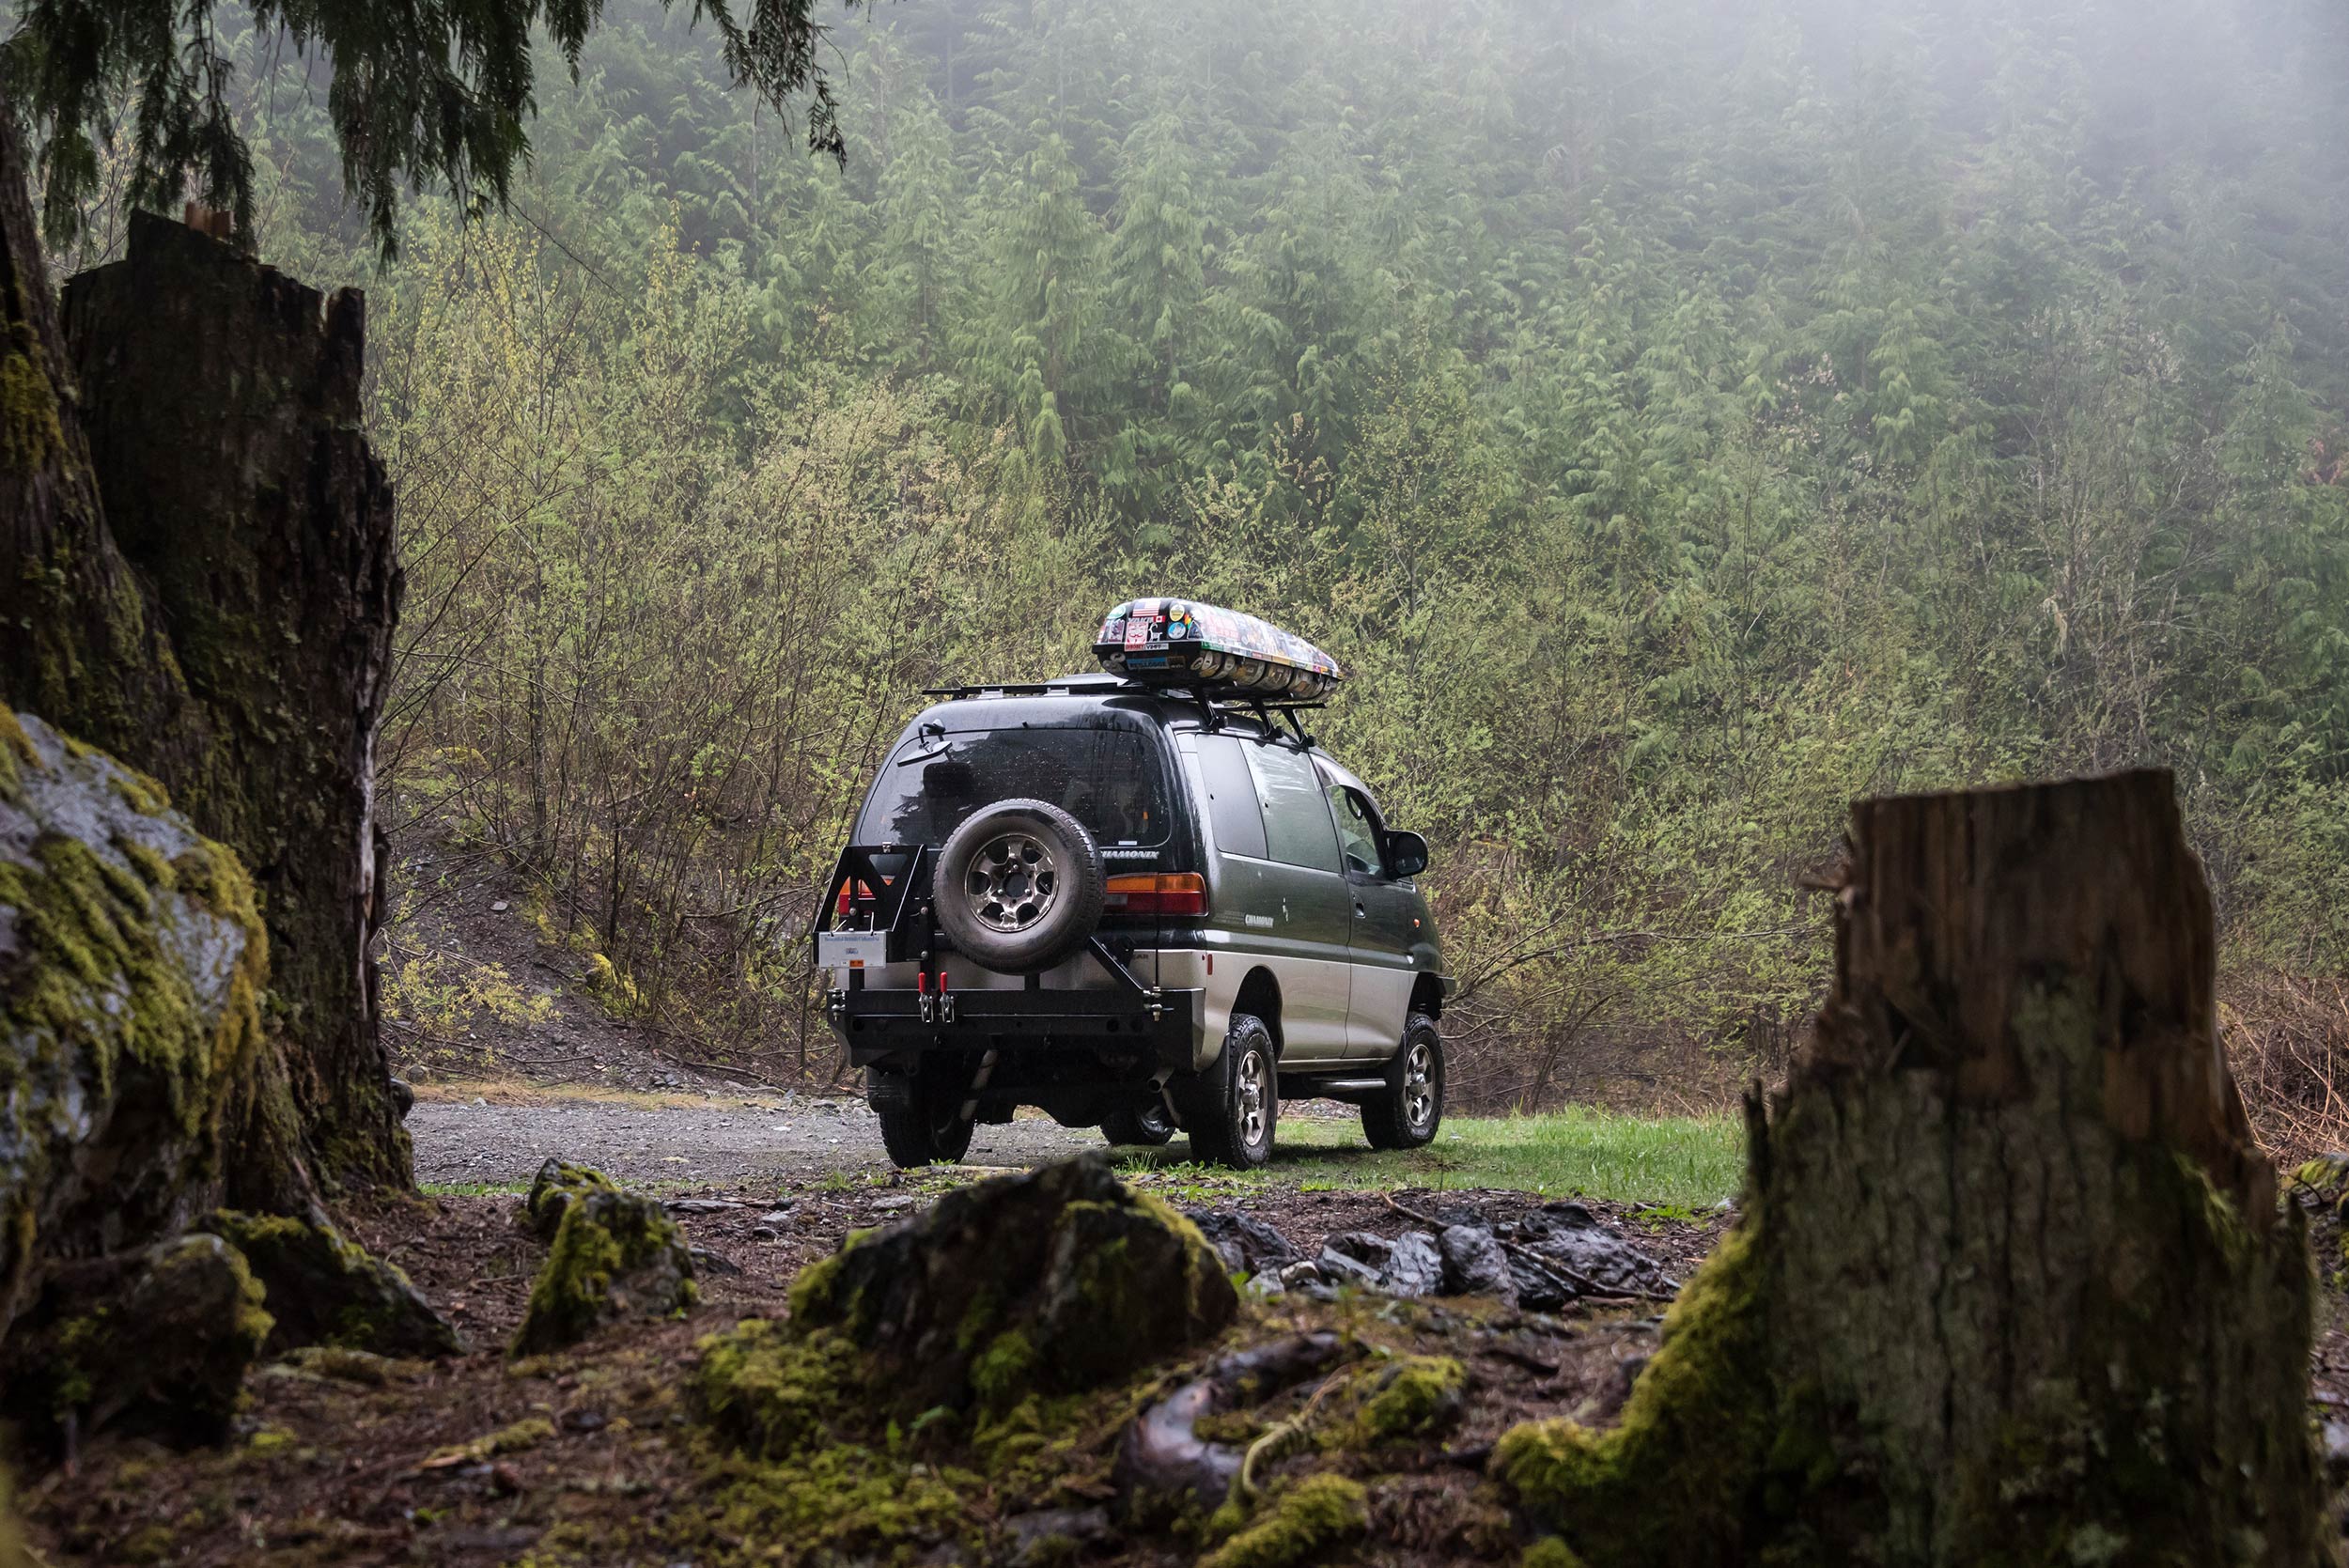
with all of that in mind, our options were to order a pretty cool xrox bumper from australia (expensive and even more due to shipping), or have a local fabricator take a crack at it. i saw a delica for sale on craigslist that had a custom front bumper, done in plate steel, and though it wasn't my favorite design, it was something, and would give us the extra clearance. after a lot of back and forth, the communication died out a bit and i put bumpers on the back burner for awhile. one day while looking through a 4runner forum (for some reason), i came across a post by Brandon from Coastal Offroad. his main business is making cut to ship bumpers that are flat shipped pre-cut and ready to weld yourself. he is also a super rad custom fabricator, and since he didn't already have a delica design, he said he would be interested in taking on the project. over the next few months we worked out our lift, and what we were looking for in a bumper design -- mainly dual swing outs to carry a spare and 2 jerry cans in the back and room for a winch up front. Brandon's main goal is to create as much clearance as possible and his designs show knowledge of someone who is out 4wheelin' on the trail at every opportunity.
the design process was awesome. Brandon had the van for a day or so to do the initial measurements, then did the CAD over the next few days or week. once we agreed on where to put light ports and extra bars, he ordered the steel (he can also do aluminum, but we stuck with steel for the price).


a couple days later we dropped the van back off so he could start the welding. his welding basically took one day per bumper, so we had the van back 2 days later, and he sent the bumpers to the powder coaters.


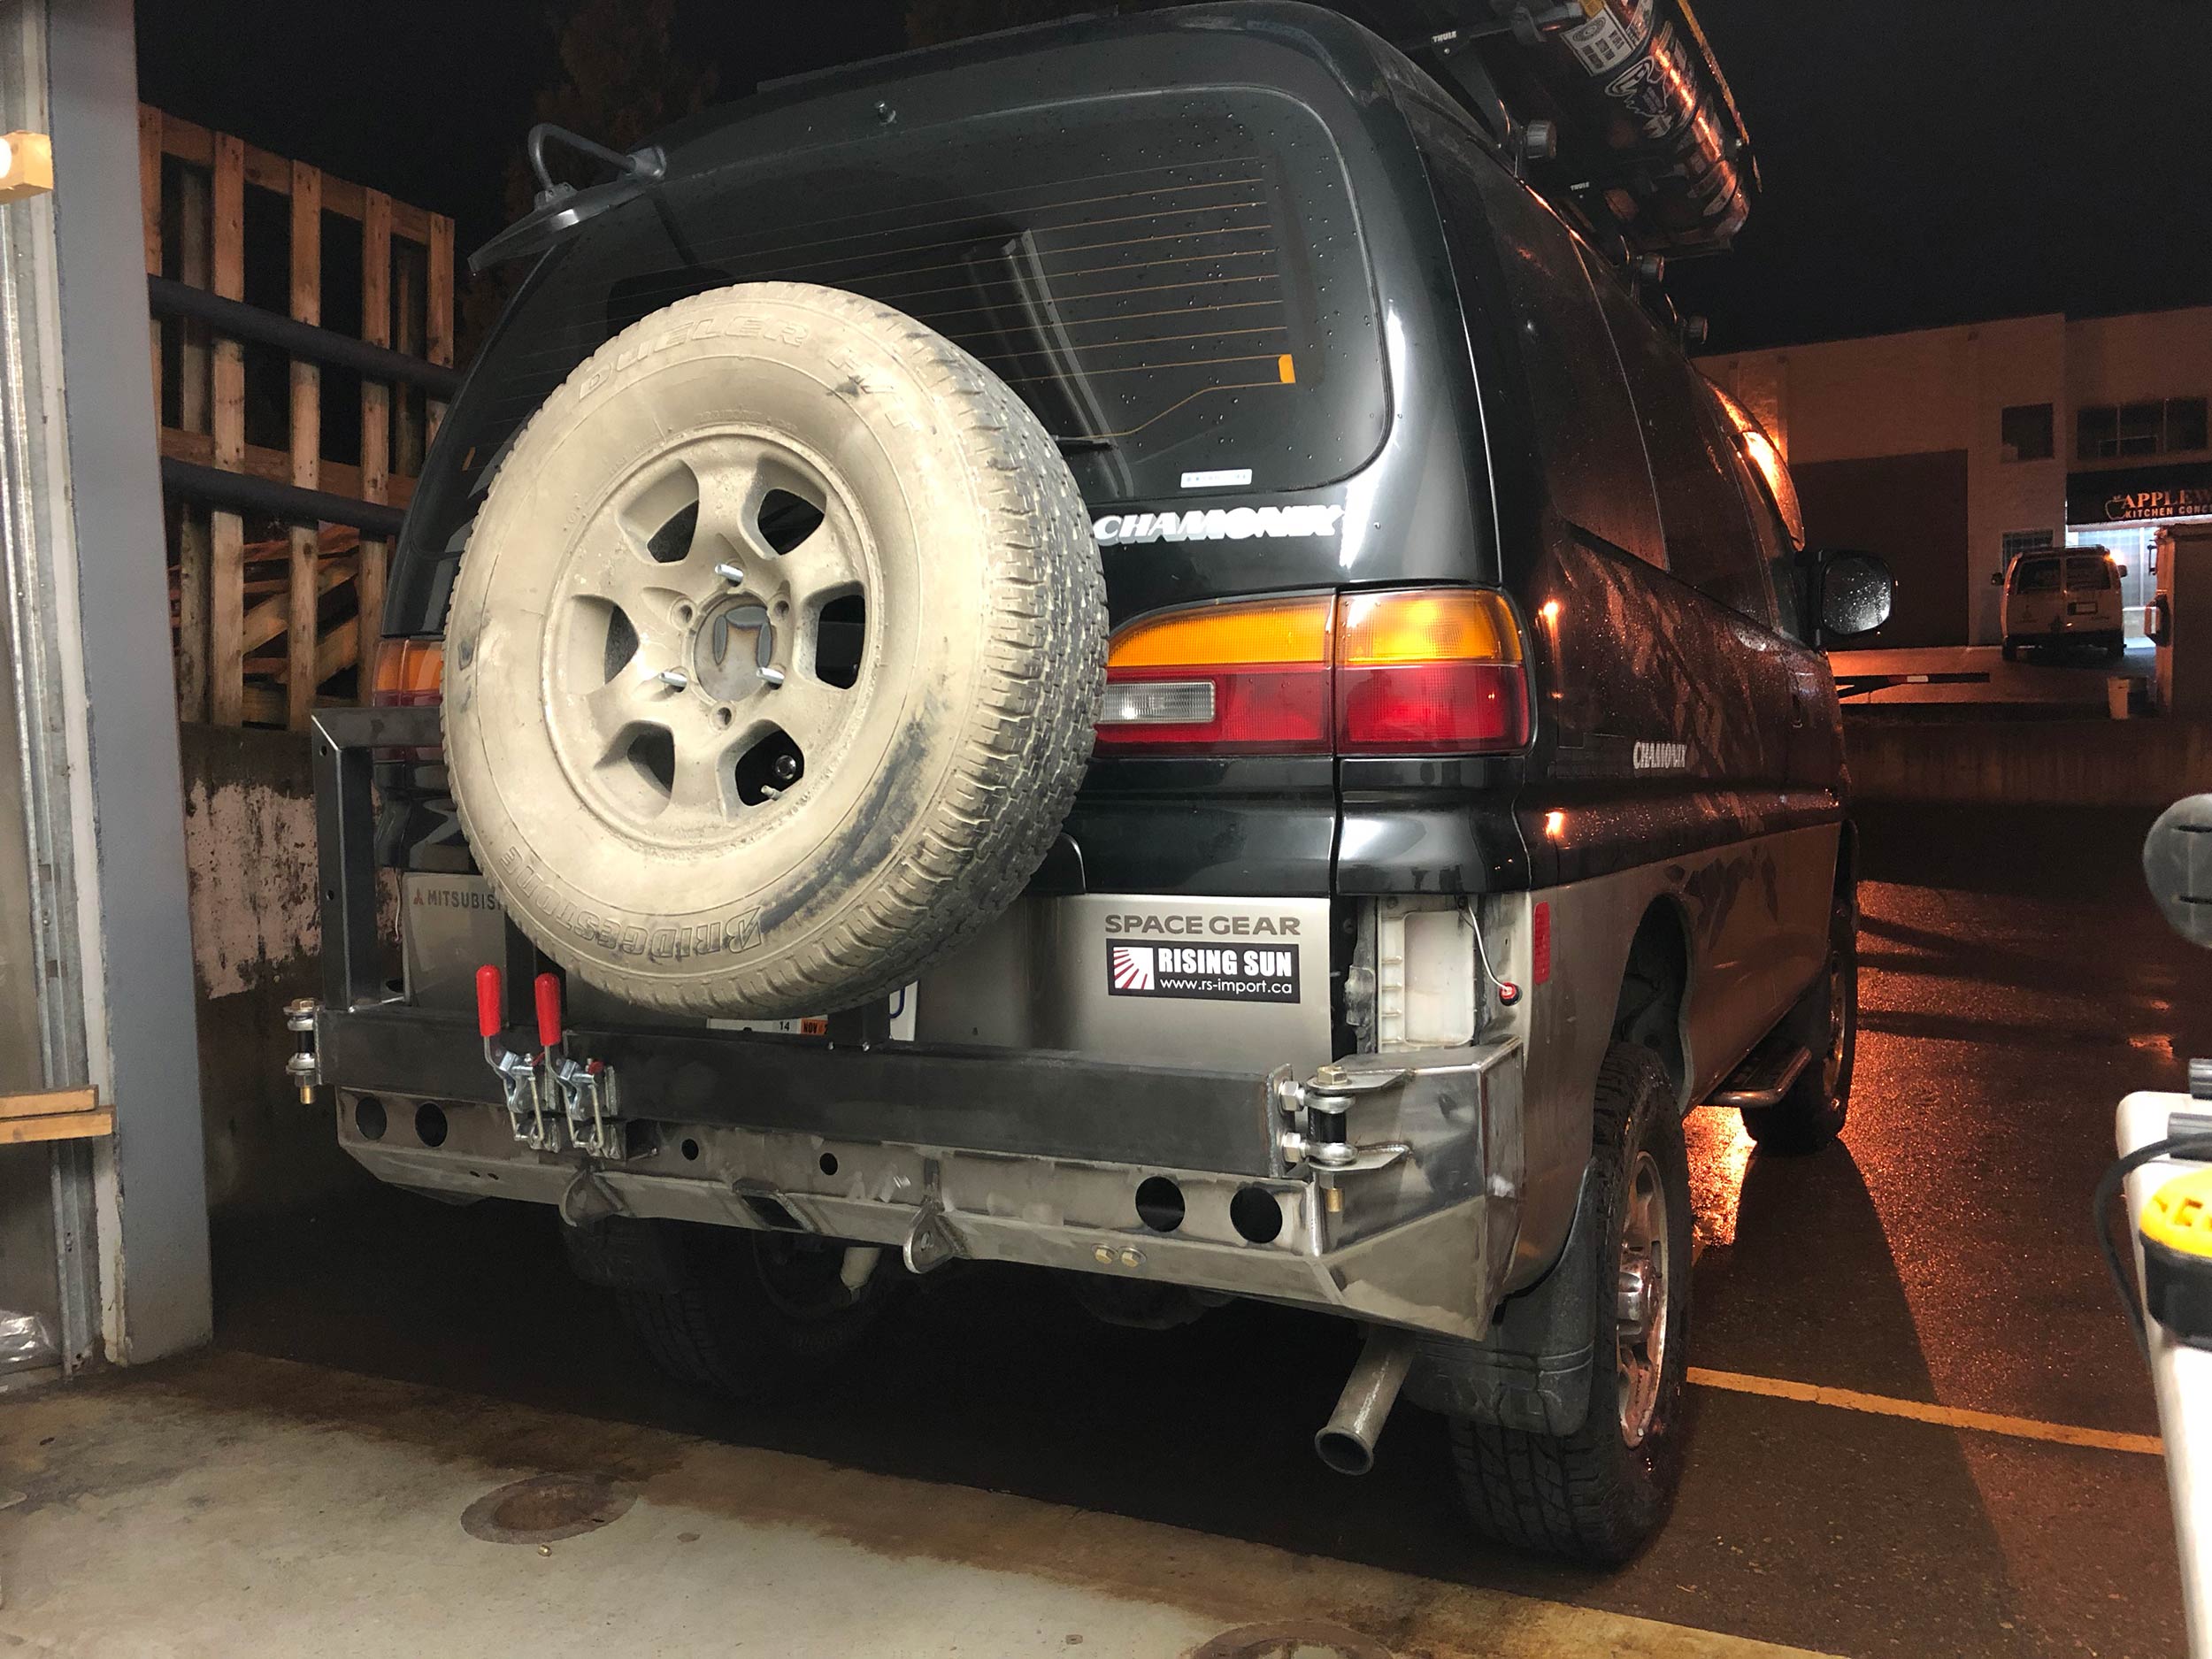


we decided it would be best to help with the final install so we would know where and how everything bolted together in case we'd need to adjust or fix anything on our trip, so we spent a few hours at the Coastal Offroad shop to put all the last little bits together and on the van.
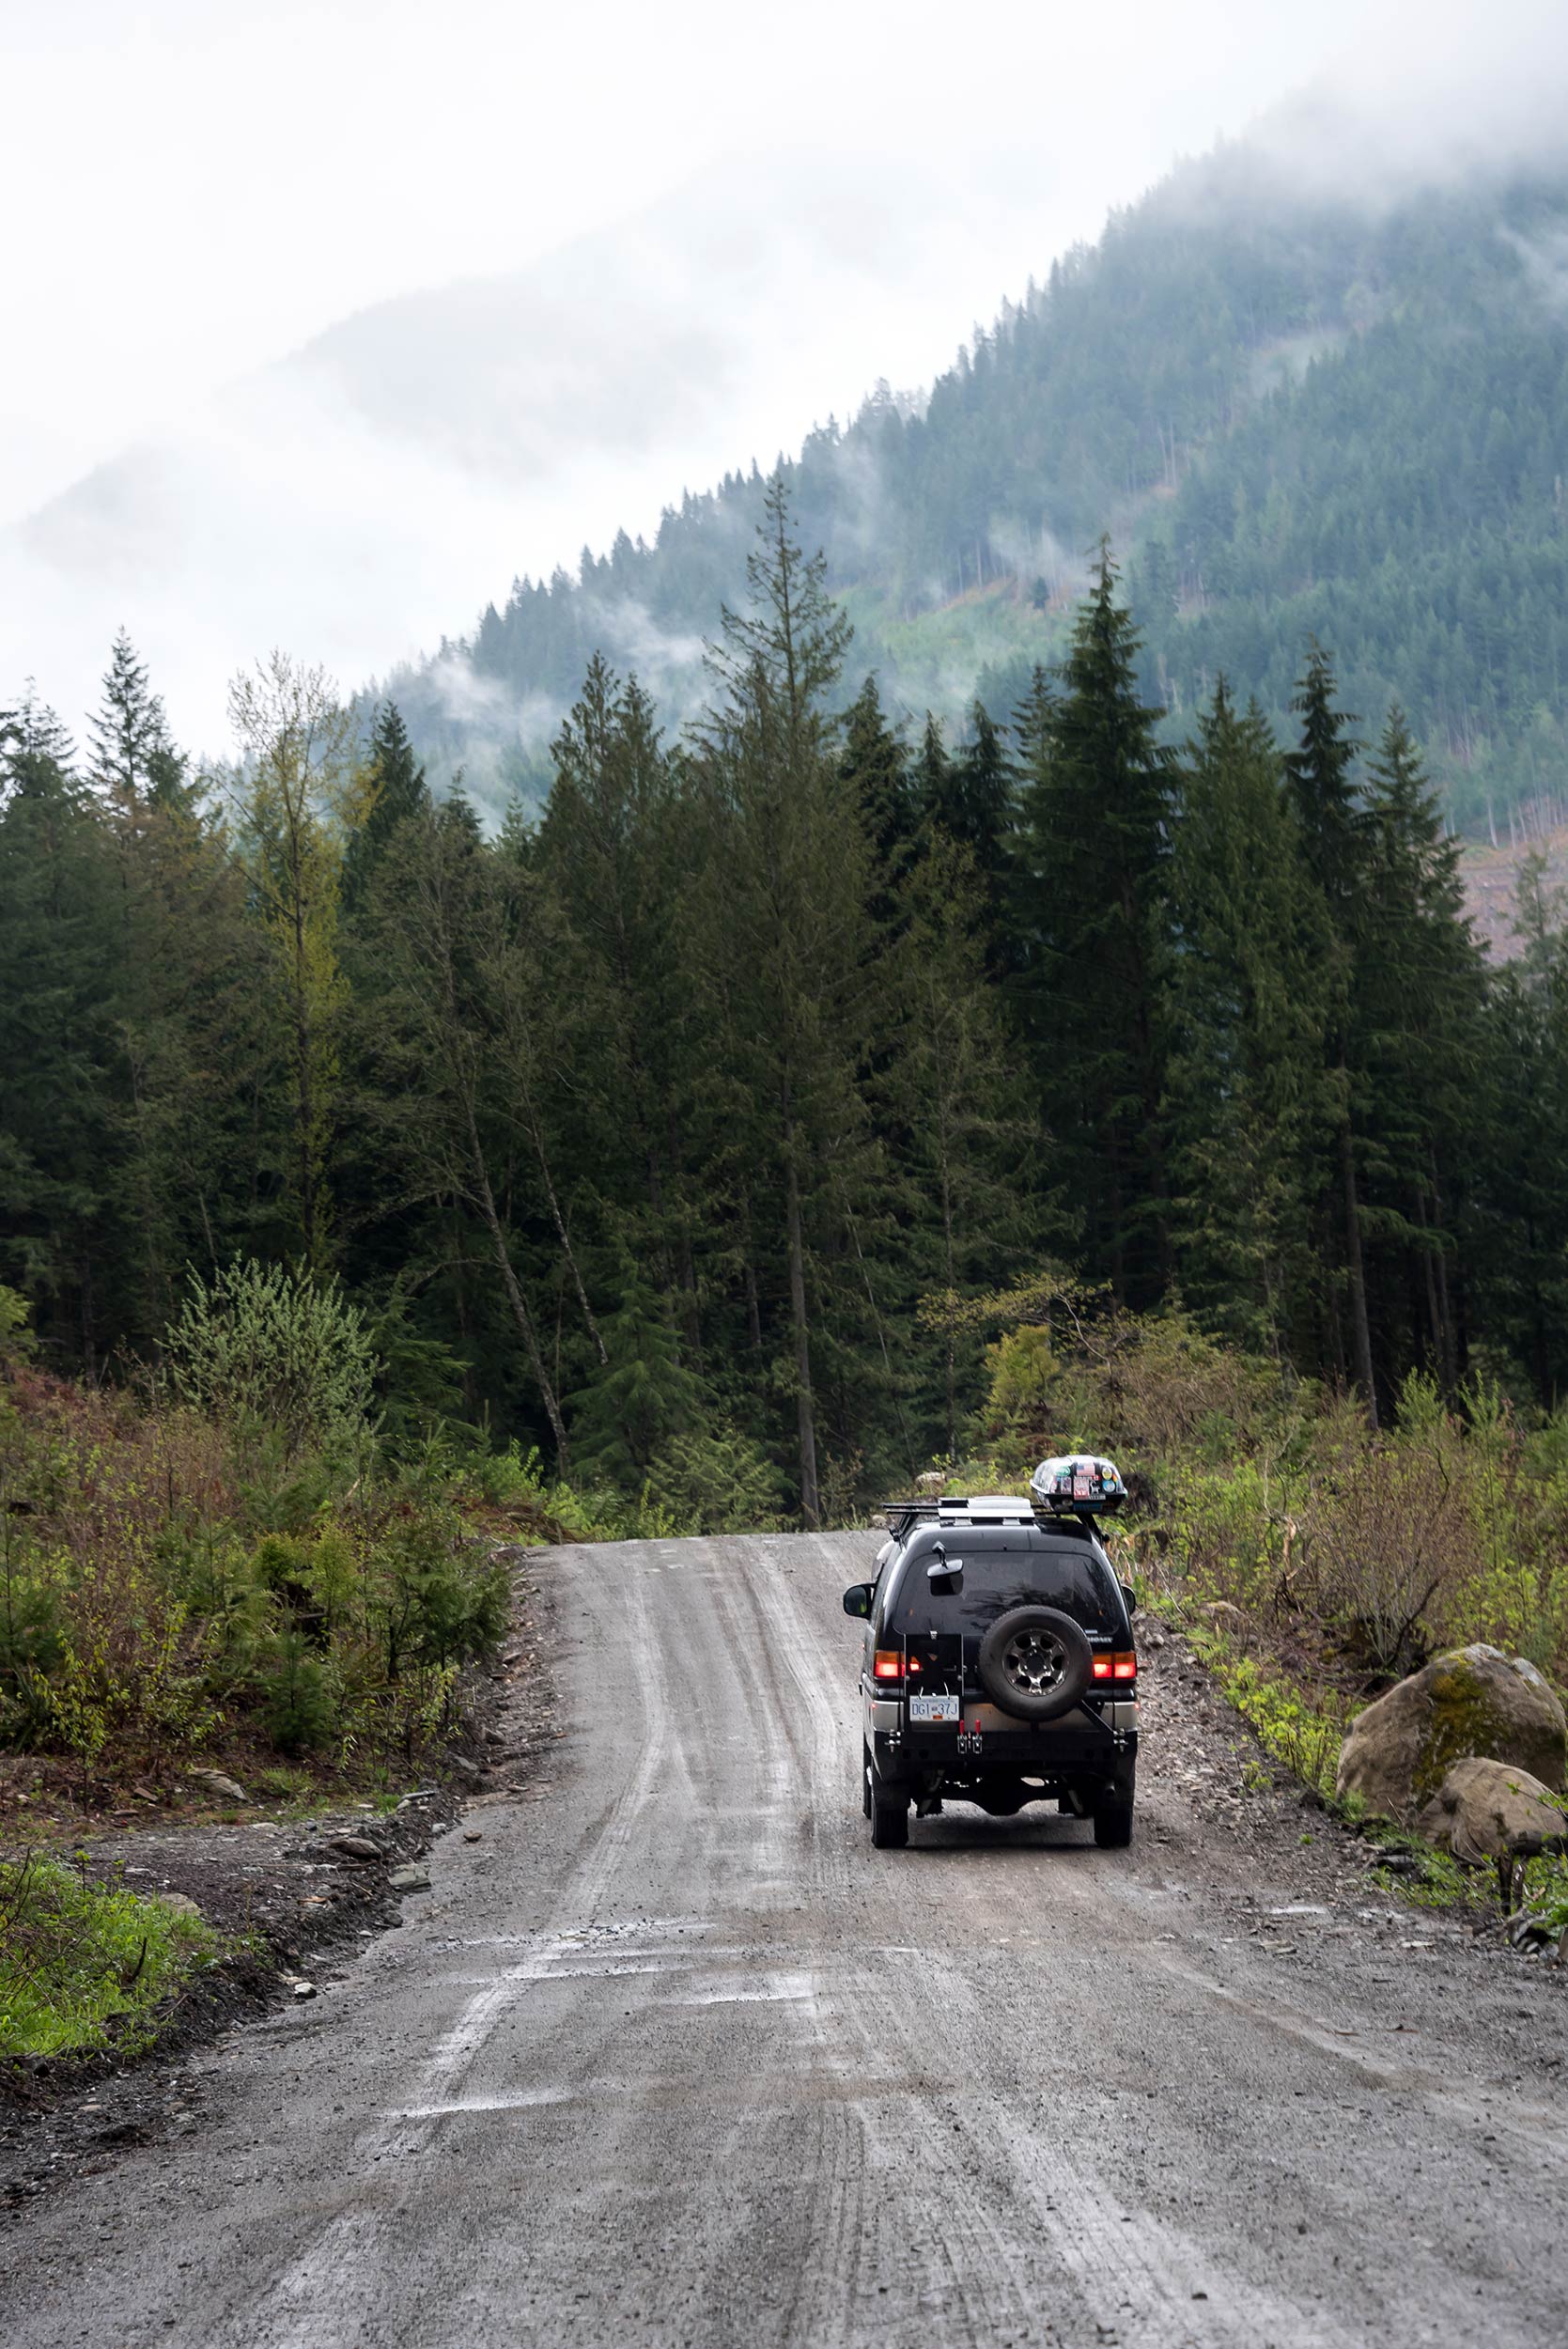
then we went vanping for the first time in a long time (first time camping in general since new years eve!)
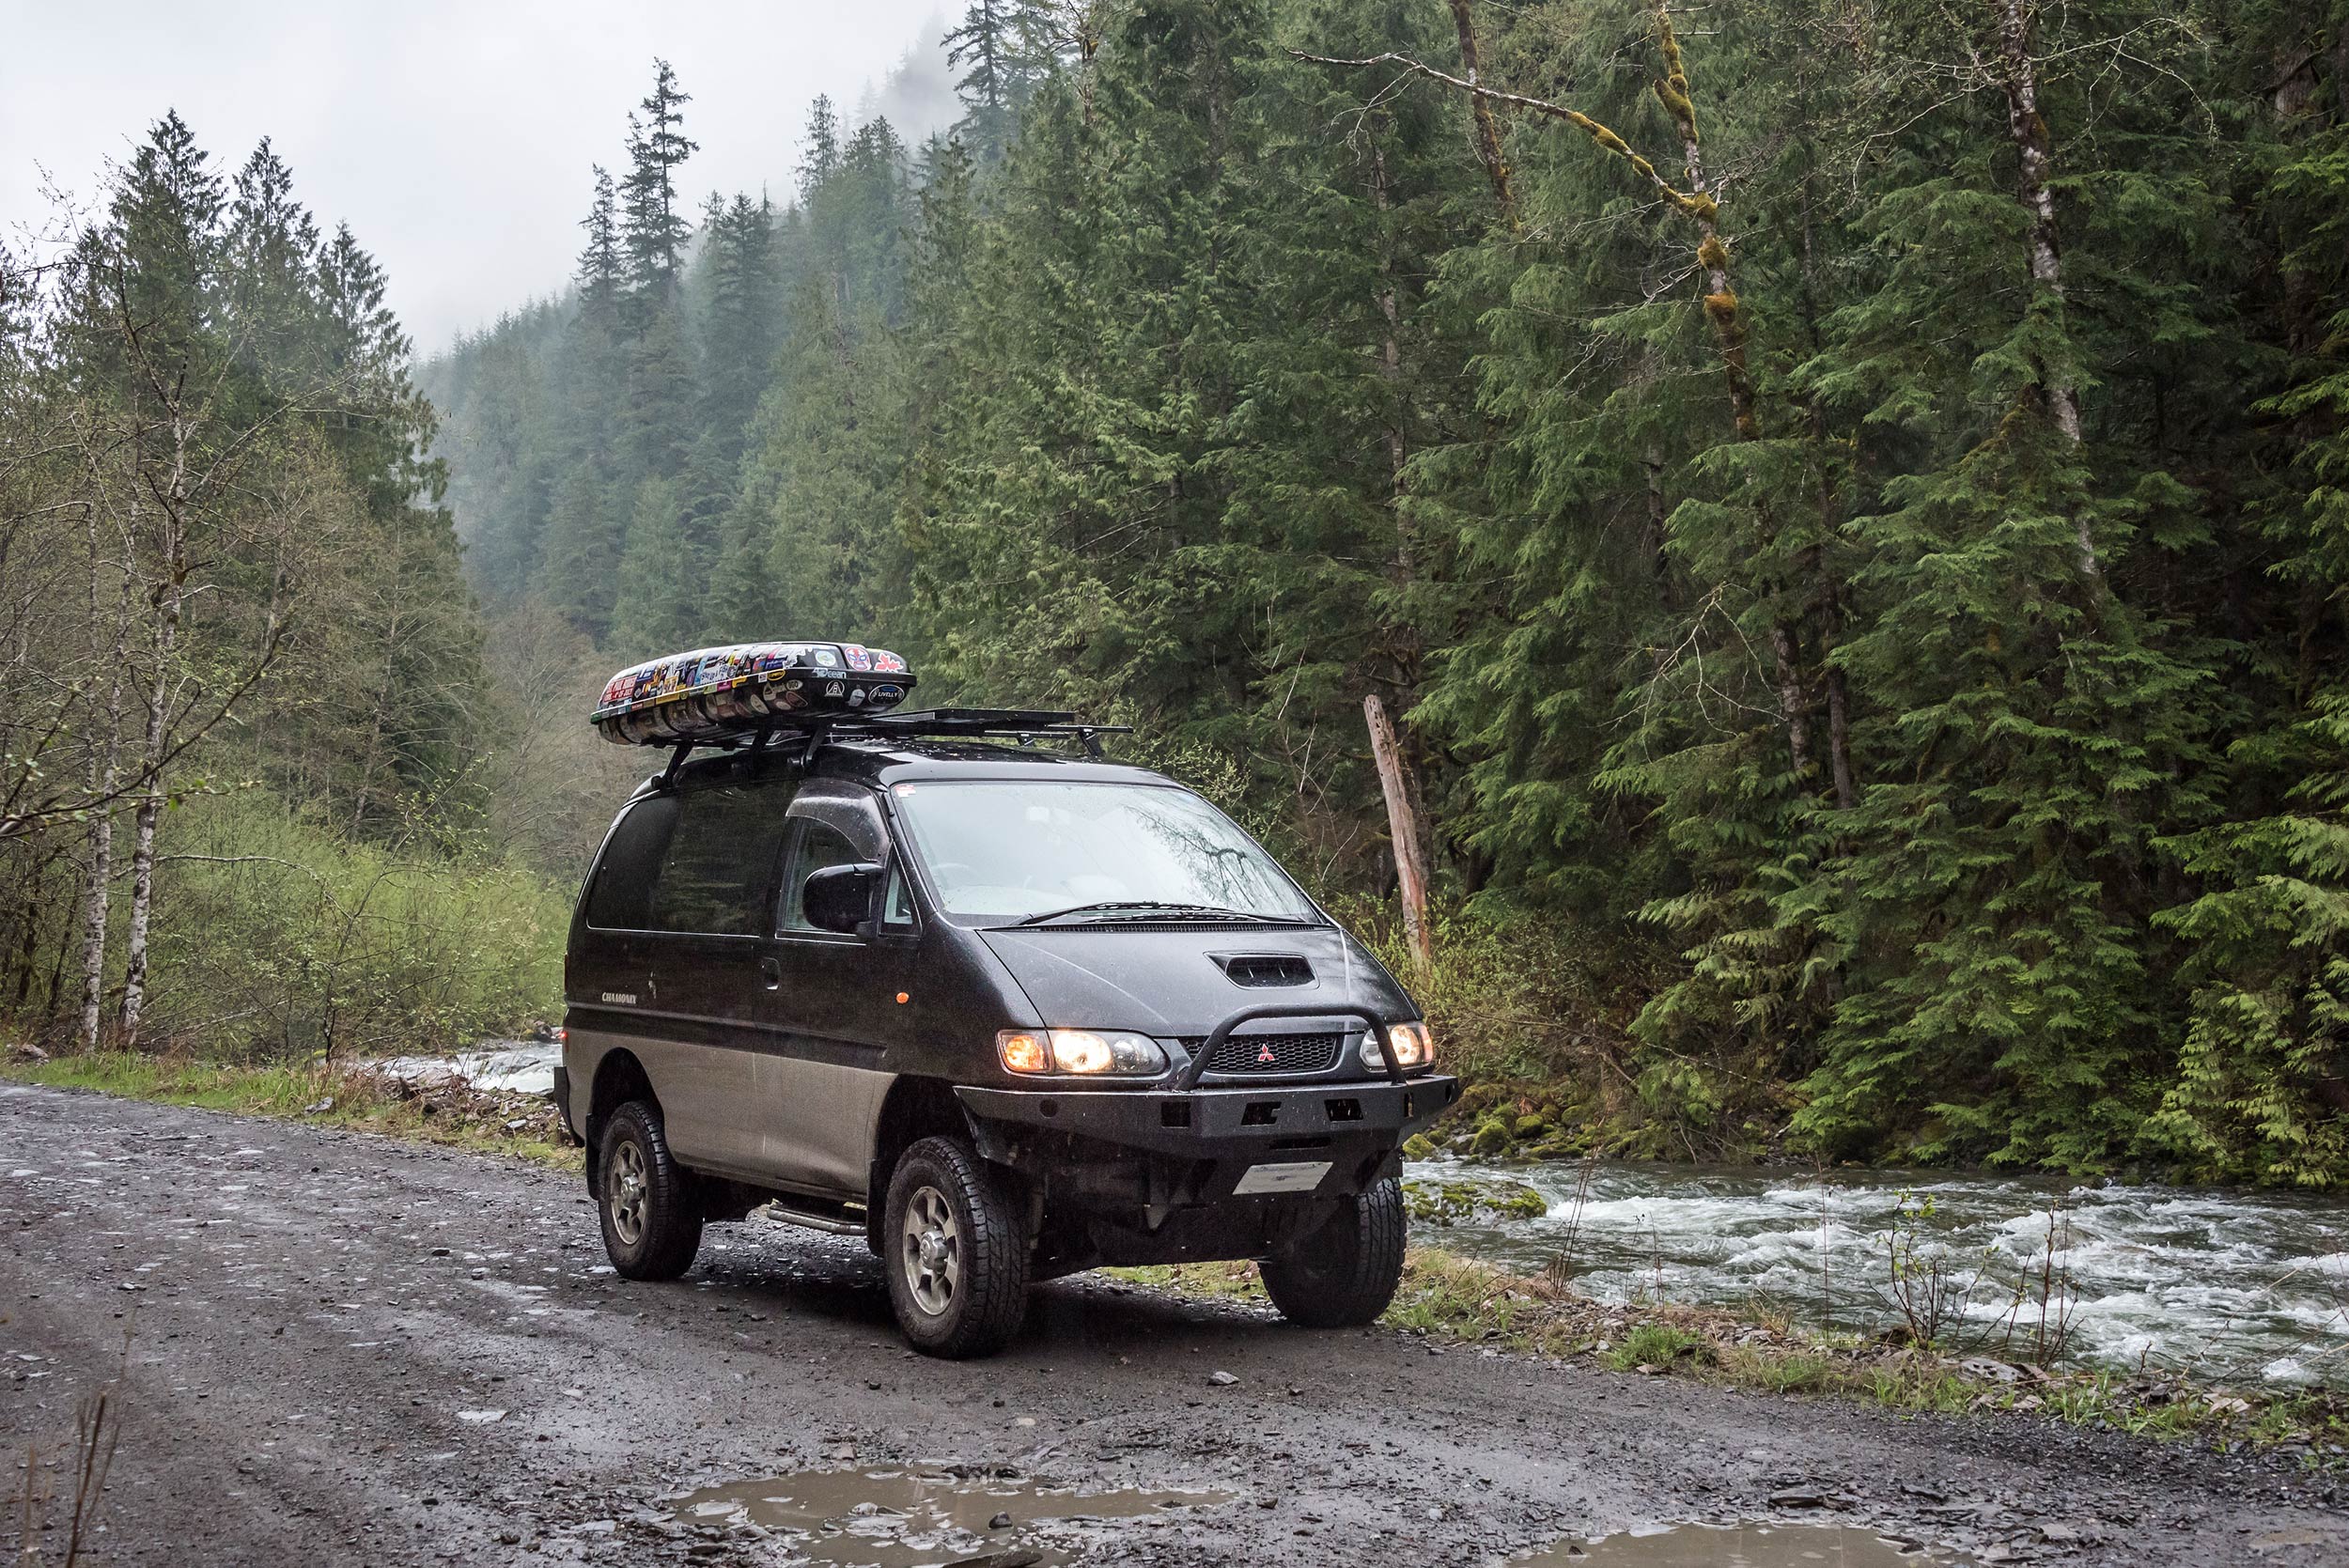
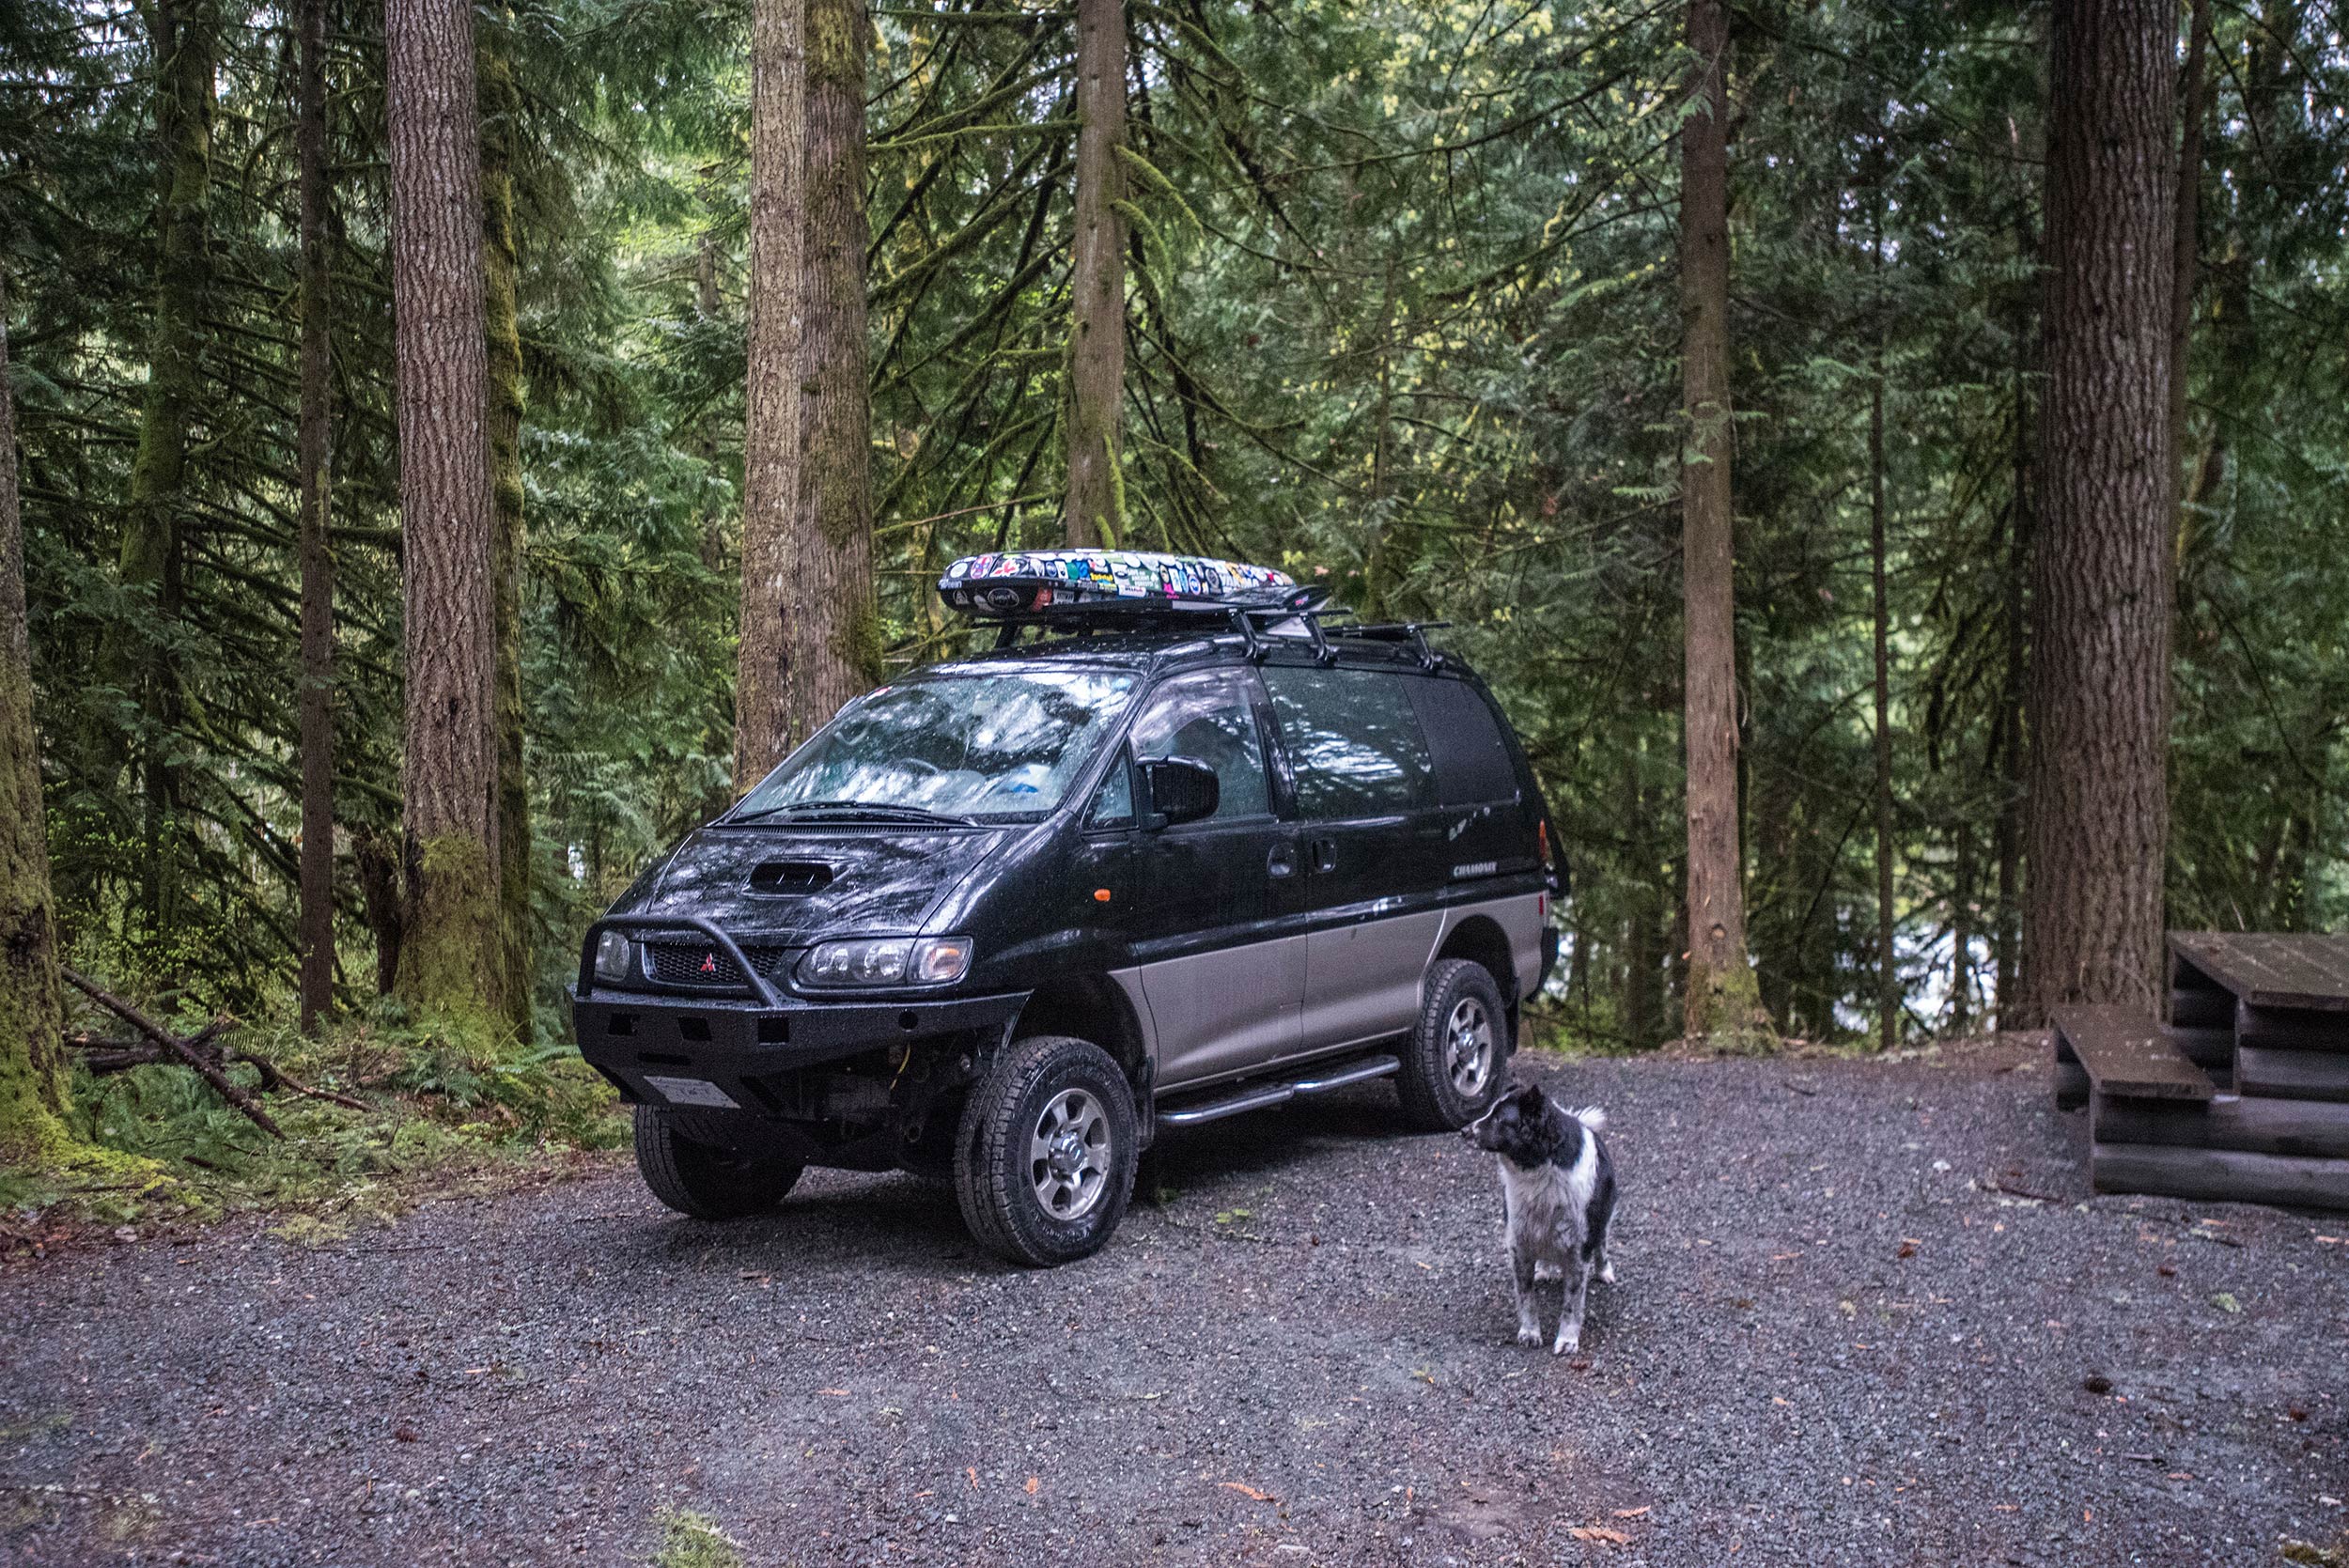
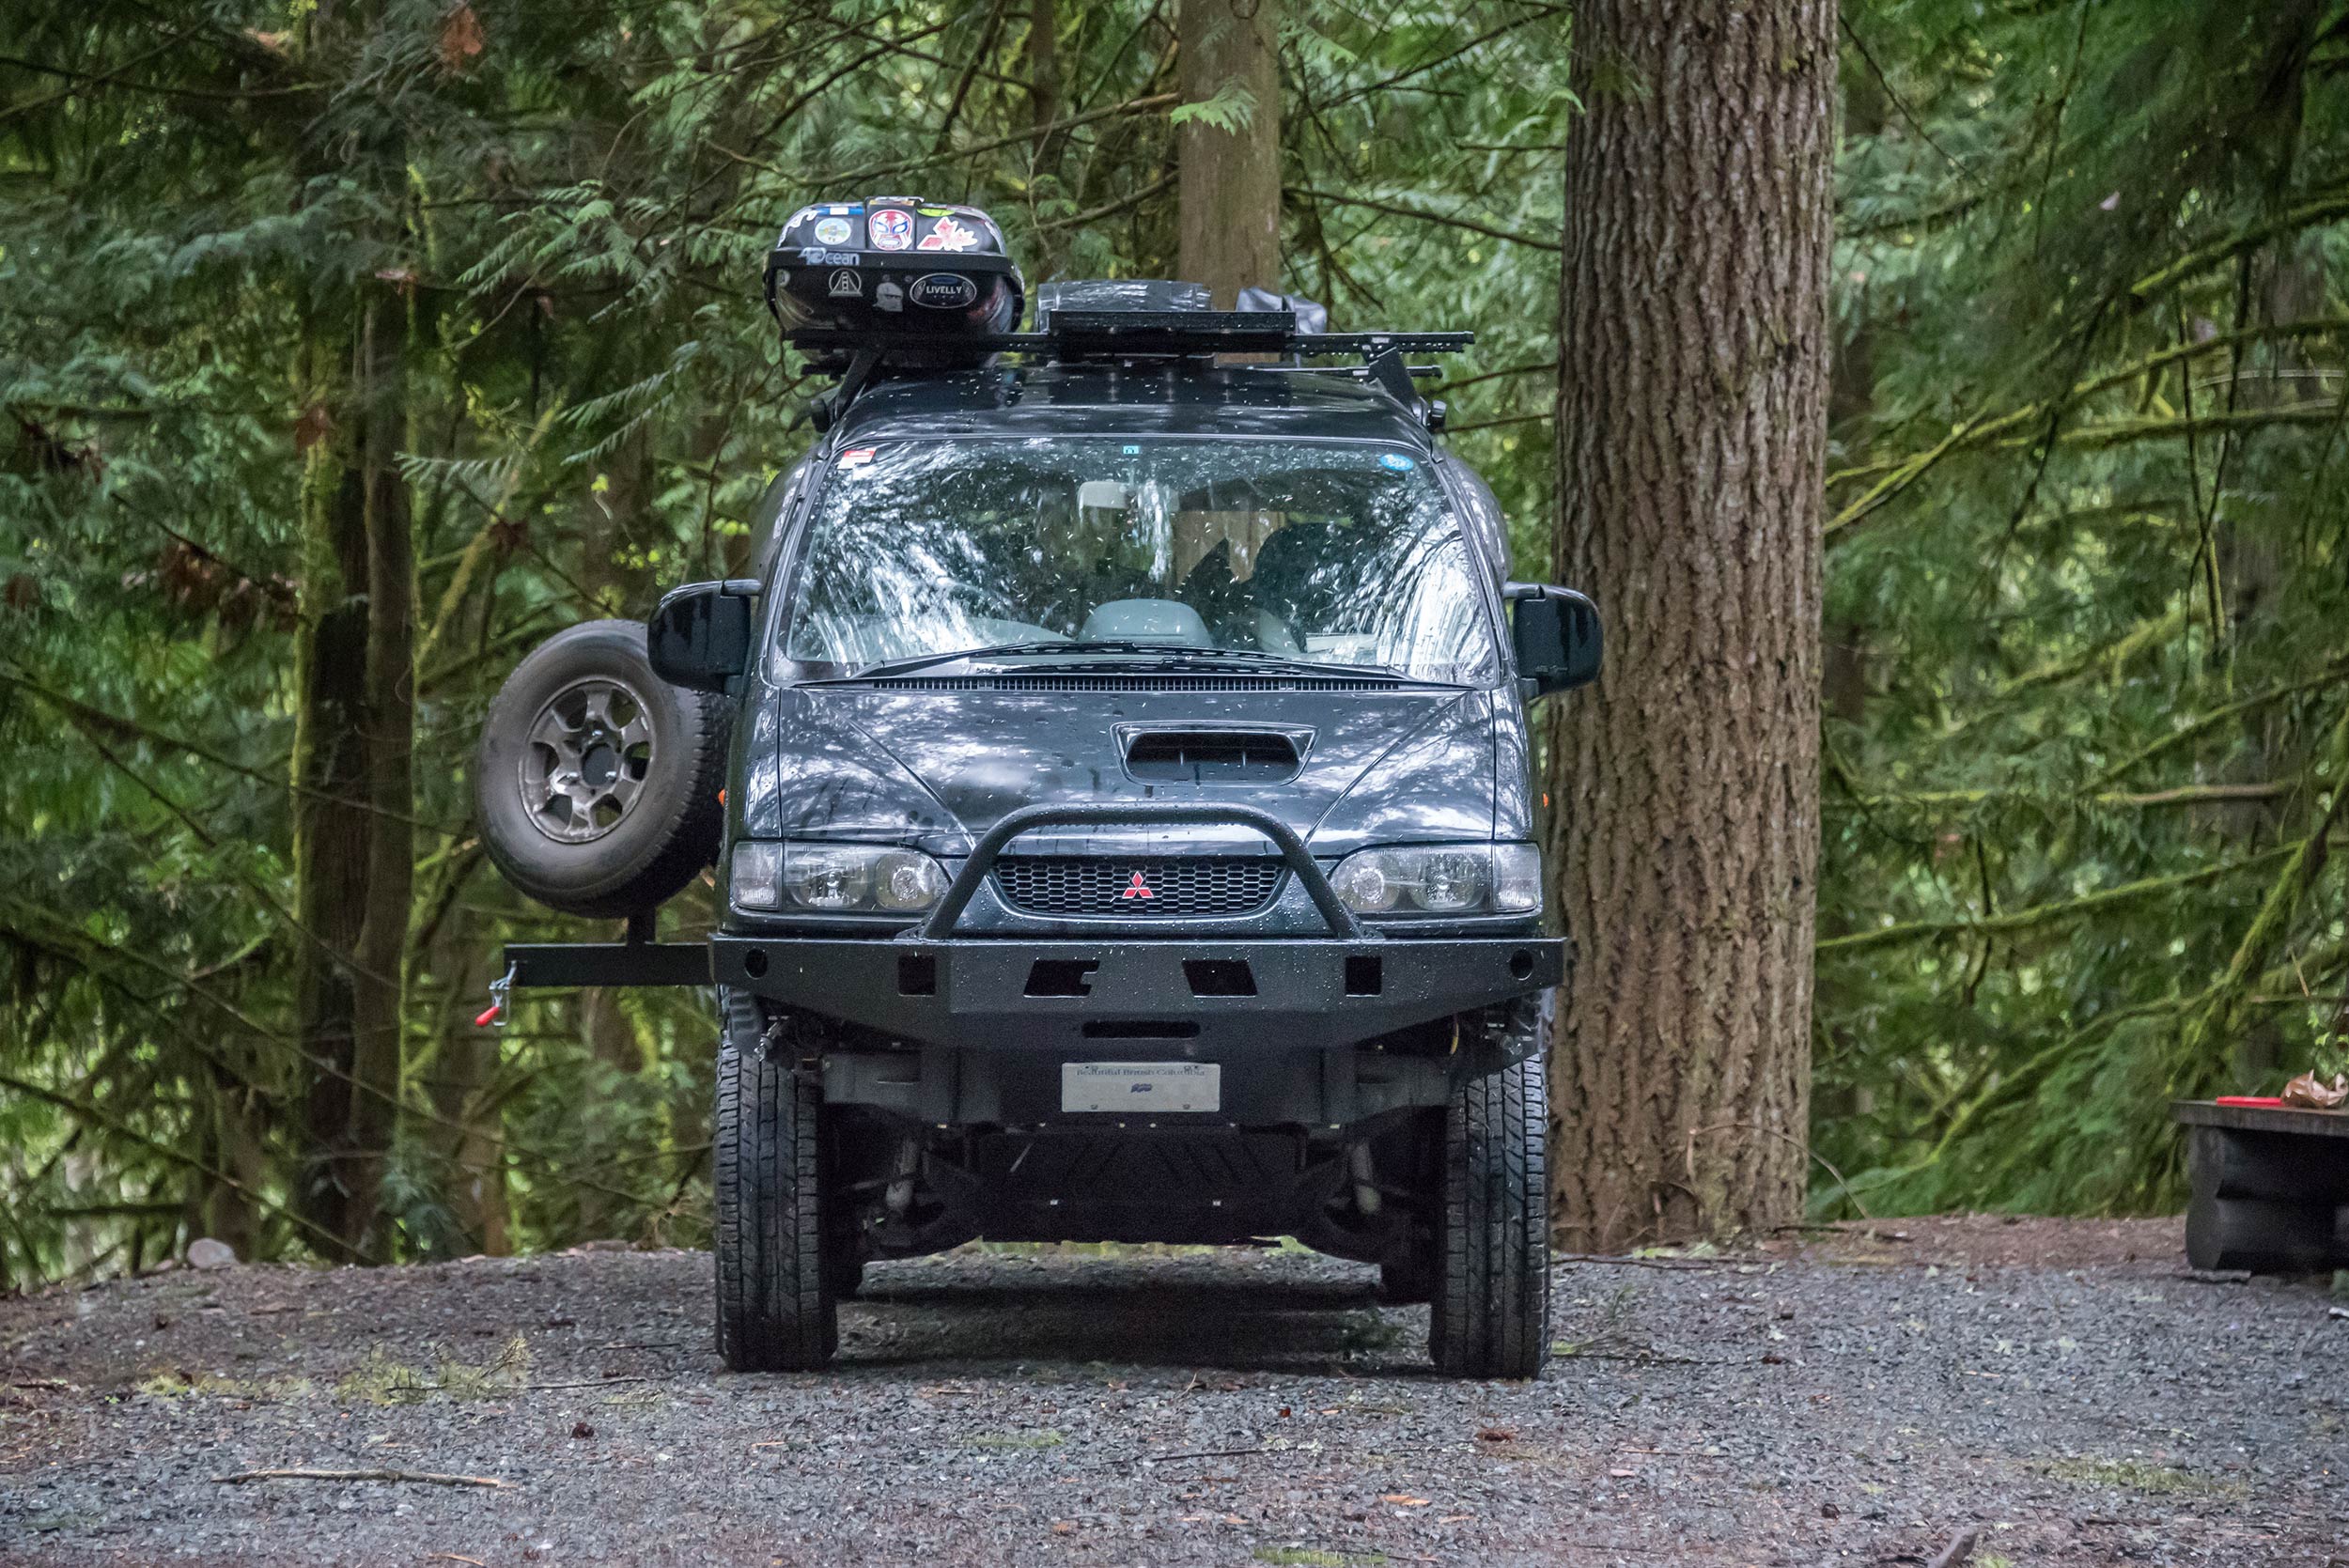
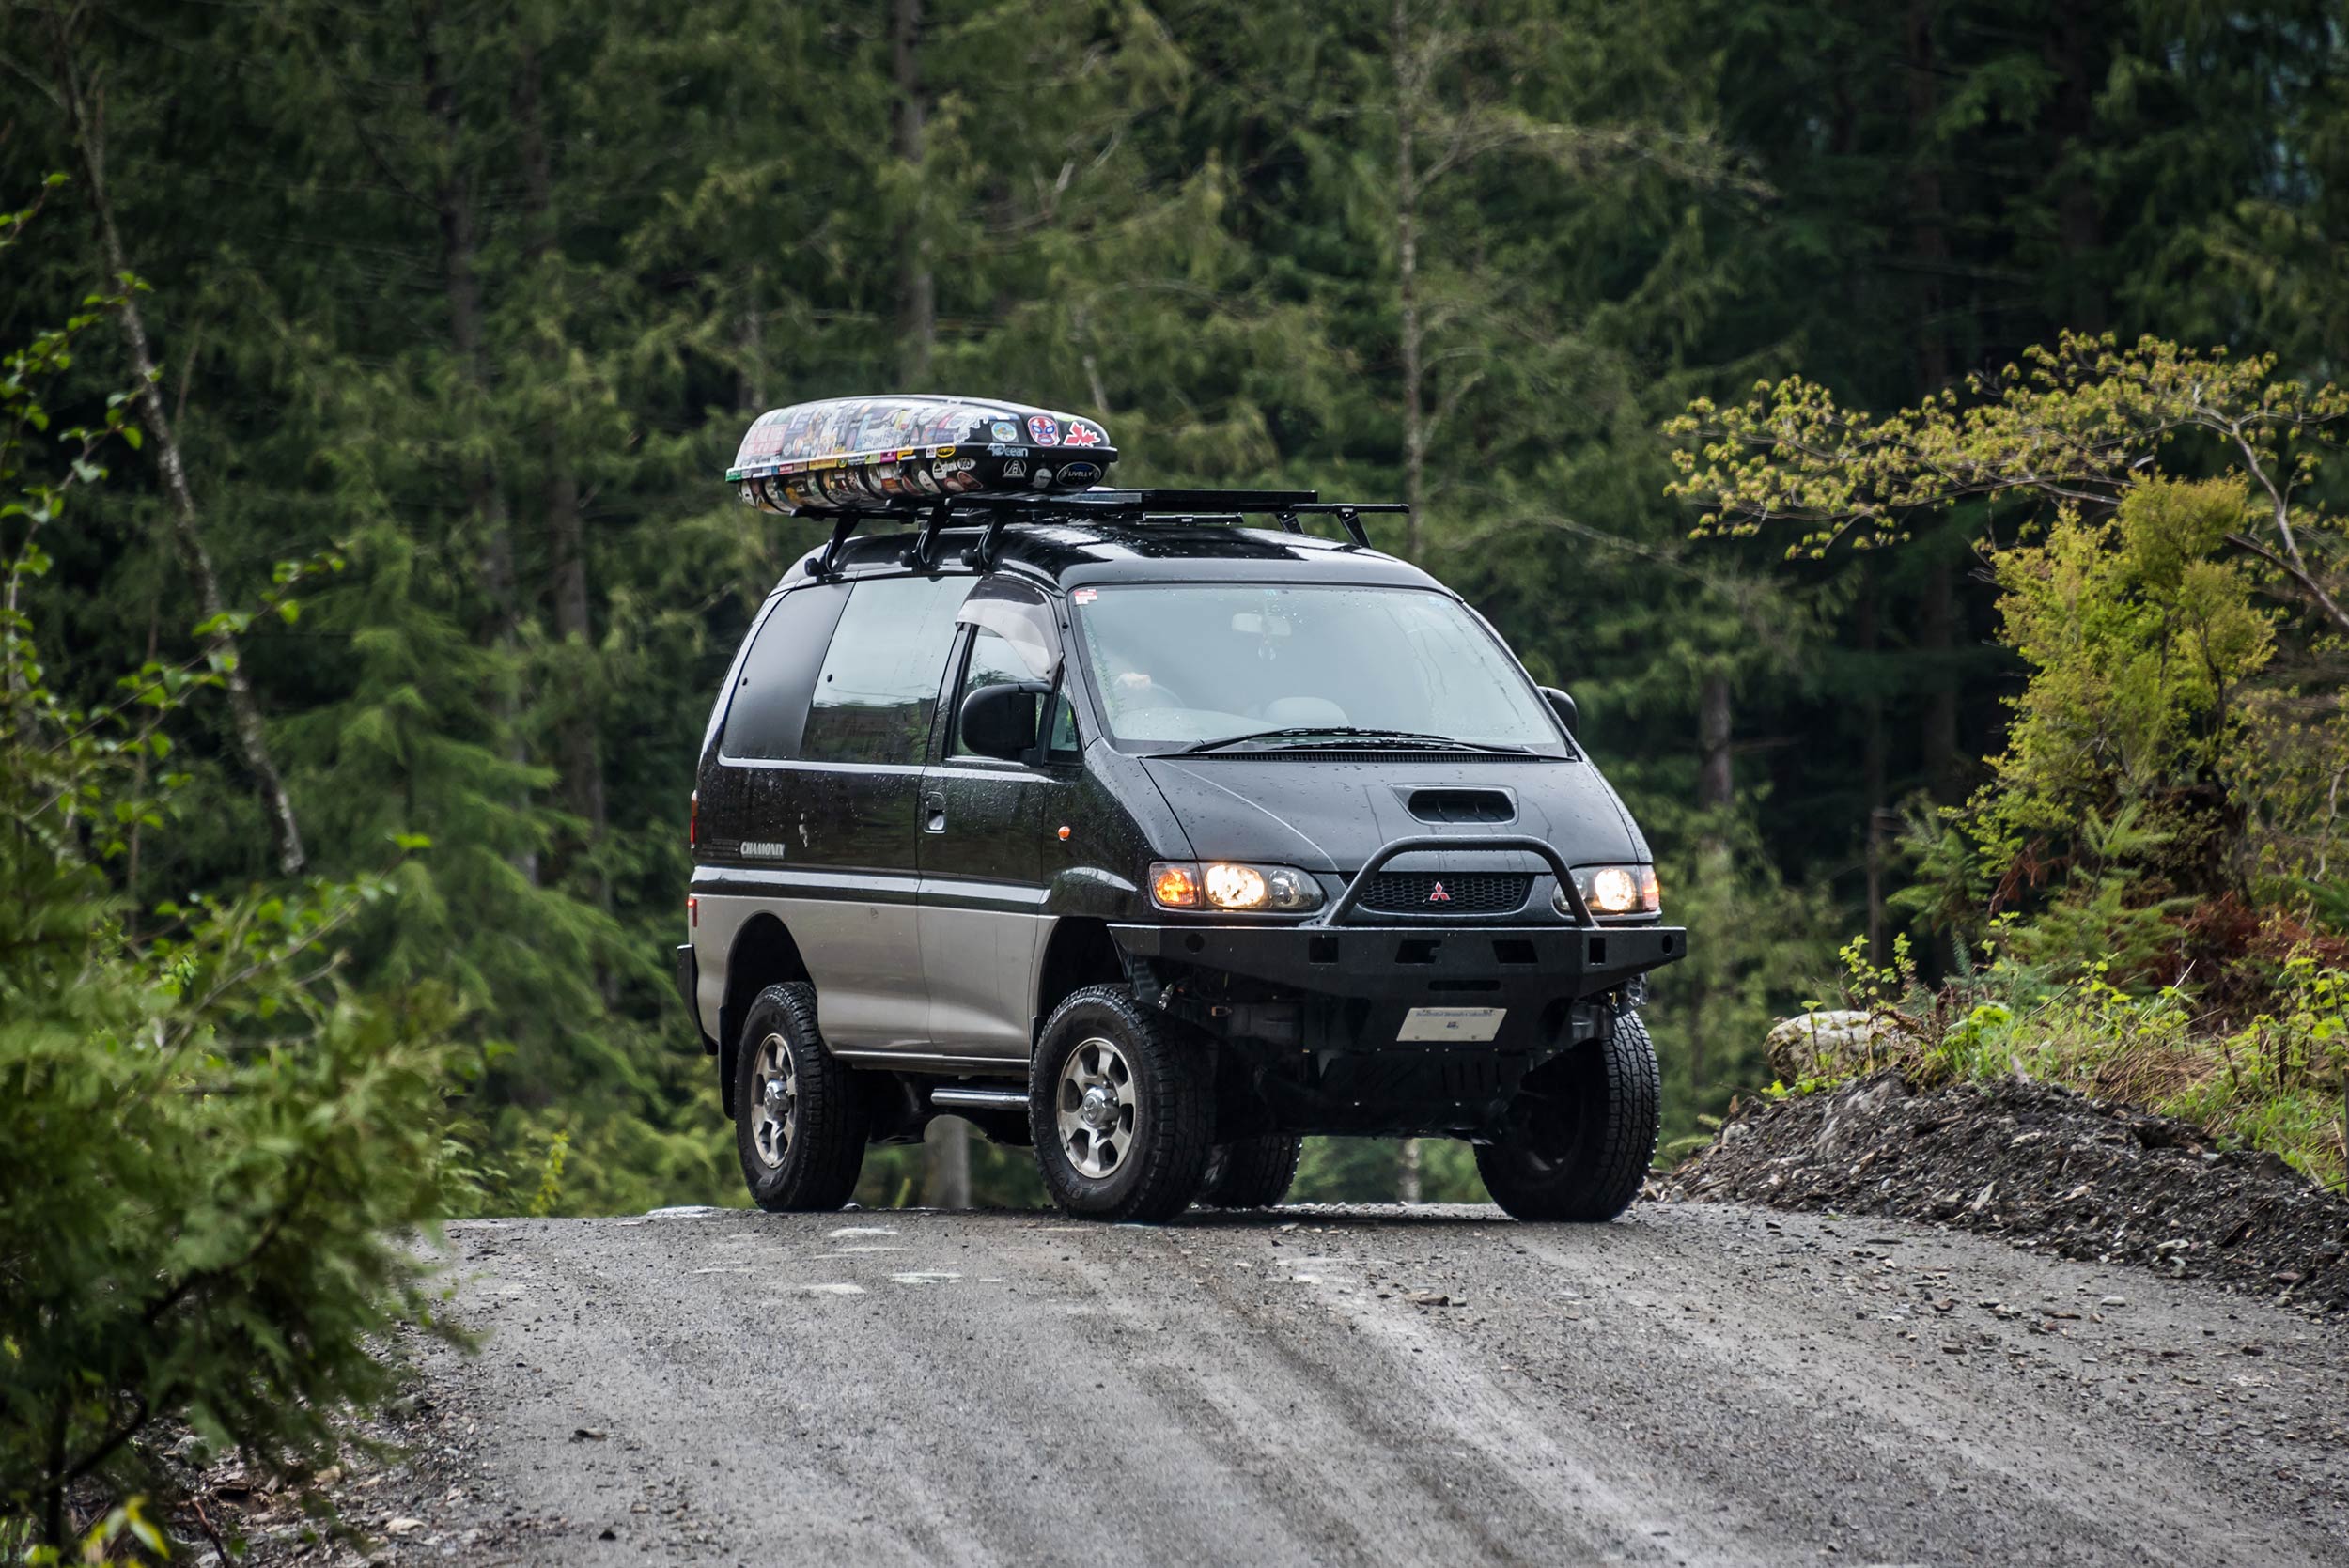
and more for the wheels and tires section, but they really balance out the bumpers and fill those wheel wells nicely...

